Playing sounds with an Arduino, speaker, and no amplifier
Published December 13, 2020
Today in Being Lazy With Andy, I'm gonna show you how to play audio directly from a microcontroller's output pins — no op amp, no transistor.
LED for kicks
Context
I'm currently doing an Easy button hack-apart, which I'll showcase later. As an intermediate step, I wanted to play custom sounds from the speaker. I don't have any audio amplifiers lying around, and besides, there's not a ton of room in the button itself to fit that. I will probably end up using a transistor, but at the moment I just wanted to test the feasability of playing audio without anything except the speaker and Arduino. The results are useable — loud enough to be heard in a bedroom and passable for voices.
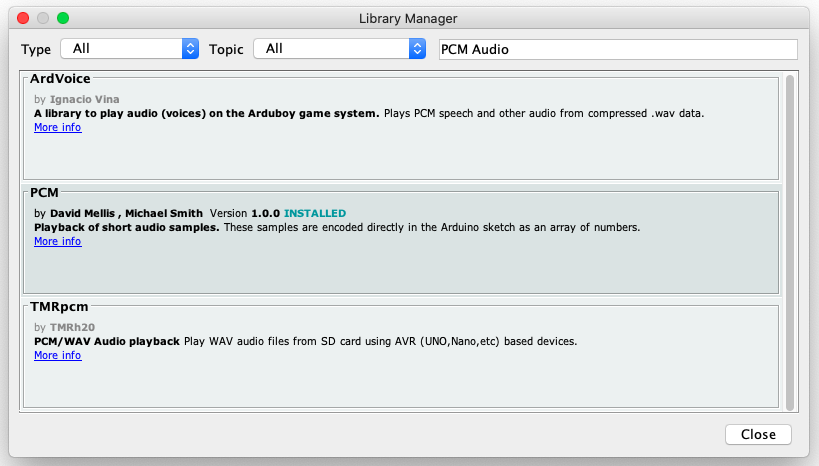
It makes sense for a microcontroller to play WAVs — they're already just pressure levels, so you should be able to play each pressure level as a tone with a set time. Luckily many people have thought of this, and have written lovely libraries for it. Primarily, this relies on some Arduino Playground code written by Michael Smith, and the lovely tutorial by High-Low Tech Group at MIT Media Lab. You can also find this library from Arduino's IDE directly by searching PCM Audio in the Tools->Manage Libraries... window.
PCM Library at the click of a button
Basic Setup Instructions
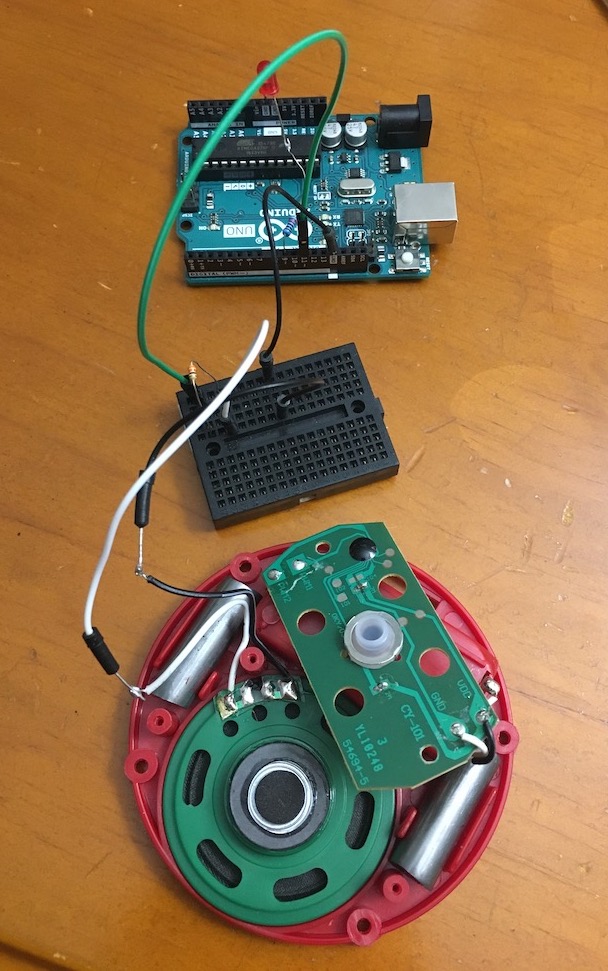
Hardware-wise you need to connect the GND to GND, and pin 11 of your Arduino to the V+ of the speaker. I actually think the speaker is voltage polarity agnostic, so either direction should work. I also added a 330Ω resistor in series with the speaker to limit the current draw from the Arduino's pins. I think their max safe draw is 20mA, and this speaker is probably 8Ω and would draw 5V/8Ω = 625mA at max output. With the resistor, this is limited to 5V/338 ≈ 15 mA.
For the software, the starter code from high-low tech should boot directly and work. When it starts, you should hear a lady's voice say "Arduino Demilvinove" or however you spell it.
What about custom audio?
I'm glad you asked! This was the fun part. Their example shows a long array of byte values, centered on 128 as their zero point. They recommend that you use an 8-bit, 8000Hz (8kHz) sample rate, mono channel WAV file. What you need to do is record some audio, then convert it into a .wav with those specific settings. You can do this conversion online, or maybe you already have a local program that can do this.
Once you have your .wav, you'll need to get the byte values onto your clipboard somehow to paste into the PROGMEM sample array from the example, which is nontrivial because the .wav will want to copy as char codes instead of actual byte values.
How I did it
I used QuickTime to record some brief audio, and then converted the .aifc file to .wav using this site, which is handy because it has many of the downsampling options I wanted.
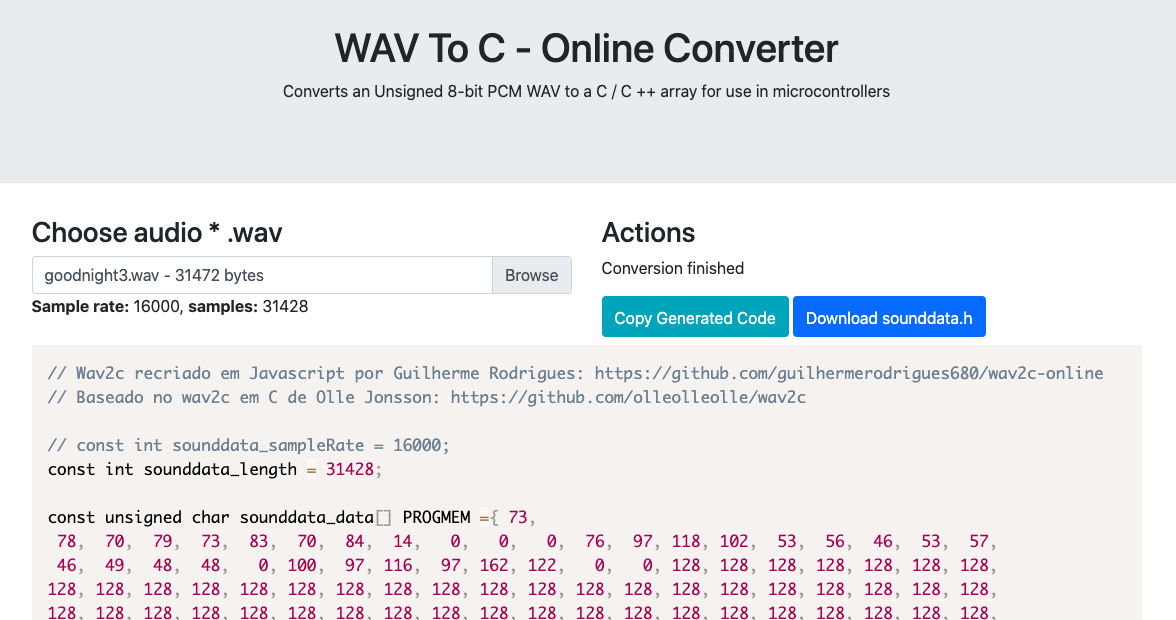
I then tried to use their Processing script to copy a .wav to my clipboard, but could't run it because it was outdated. I tried to modify it in Processing to compile, but for some reason it wouldn't parse the .wav properly :(. Instead, I found this web version of wav2c. Turns out lots of people have solved this problem, it's just very difficult to find a web version that will do it for you in JS.
Anyway, it gives you a nice long text of values you can copy and paste into your code. I would like this better if it were all on one line, but that might be a personal preference.
Paste it in the example code, comment out or delete the old line with all the values, and hit start! Your Arduino should play your sound file!
Additional things you can try
Optimizing for voice
I'm encoding voice files specifically, so I figured I could increase the contrast in the file to get better volume. I iterated through in Python and found the largest offset from 128, then multiplied all samples' differences with 128 by some large constant and added them back. So something like [128, 130, 120] (diff from 128 is [0, 2, -8]) becomes [128, 138, 88] after a 5x contrast increase. I think I'm just reinventing the wheel here, but this slight modification made my sound files a little more clear.
Increasing the playback frequency to 16kHz
You can also downsample your wav to a less extreme 16kHz audio file. This allows higher frequencies to be represented better (something something Nyquist), and also allows voice files to sound better. I will warn you however that it takes twice as much memory, meaning you can hold maybe 2 seconds of audio now instead of 5? It's significant compared to what it originally was, which was not much.
If you use a 16kHz .wav without changing the code, you'll hear a slowed down version of the file. This is because it still thinks you're using an 8kHz file. To hear a 16kHz encoding, you'll need to download the mellis PCM file from the high-low tech blog post. This allows you a lower level access to the PCM code, which lets you change some variables around to playback faster. It sounds a little better too!
Playback from SD card
I haven't tried this, but I hope to soon!
That's all for now, have fun!