How To Set ATtiny Fuses (with Arduino as ISP)
Published April 23, 2024
Hello! This post will show you how to set the fuses on an ATtiny using the Arduino IDE and an Arduino as ISP. You'll need to do this to configure some new options on the ATtiny that aren't available in the Arduino IDE dropdown. We're gonna start off where we left off in the previous blog post, so be sure to follow that through if you haven't yet.
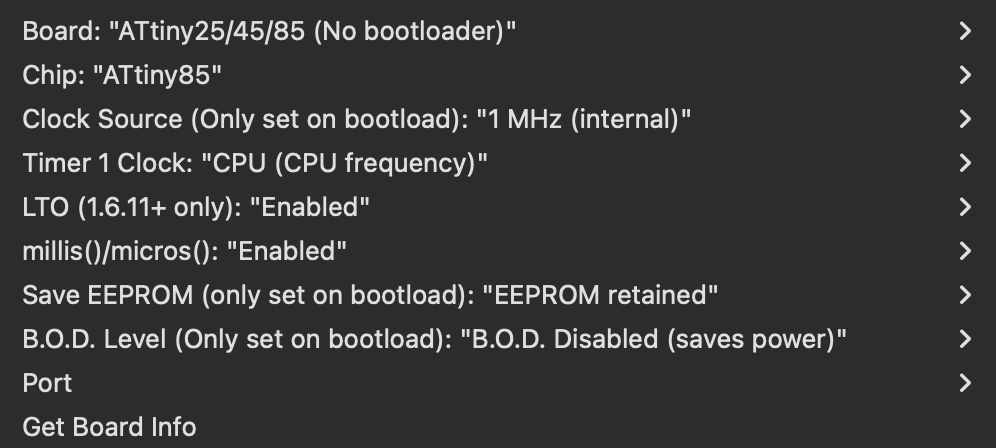
The incomplete fuse options offered by the Arduino IDE
Motivation
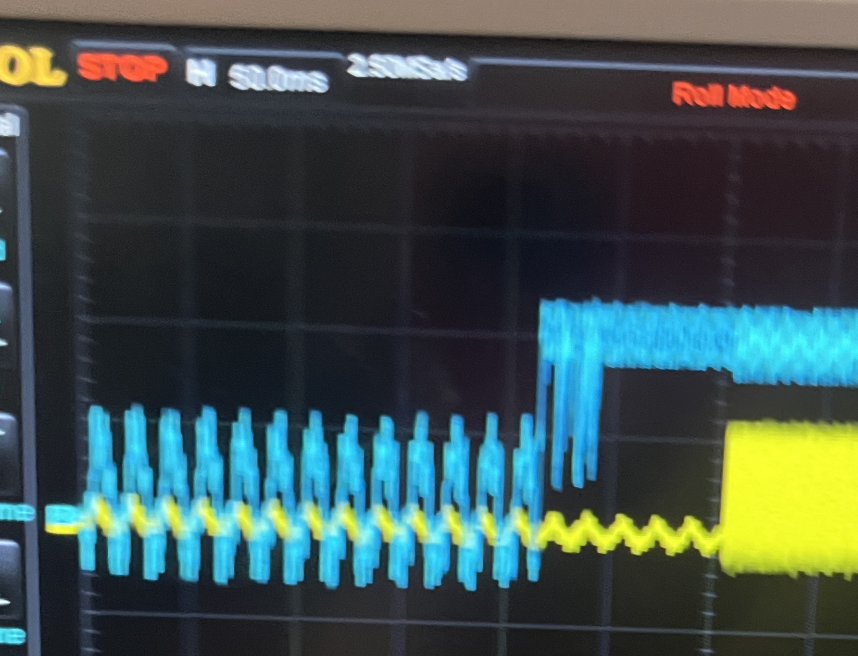
Recently, I wanted to use energy harvesting to power an ATtiny. Every electron is precious in such a scenario, so I had none to waste. However, on startup, I noticed my ATtiny was actually just doing nothing for around 60ms after power-on!
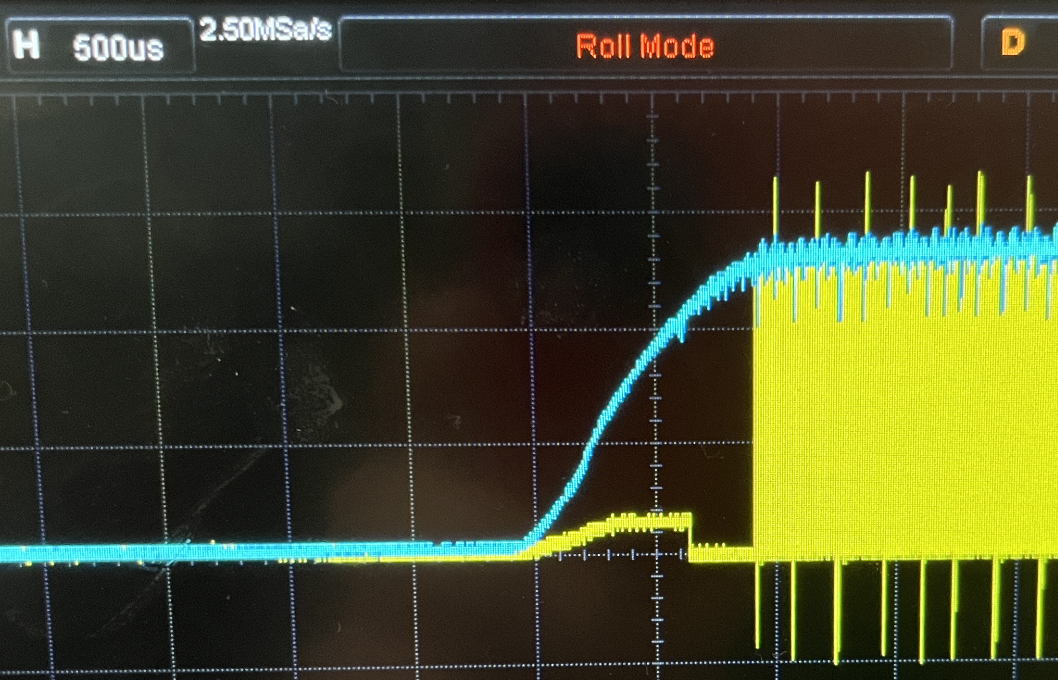
60ms delay after startup on the ATtiny. Blue is power rail, yellow is the signal out
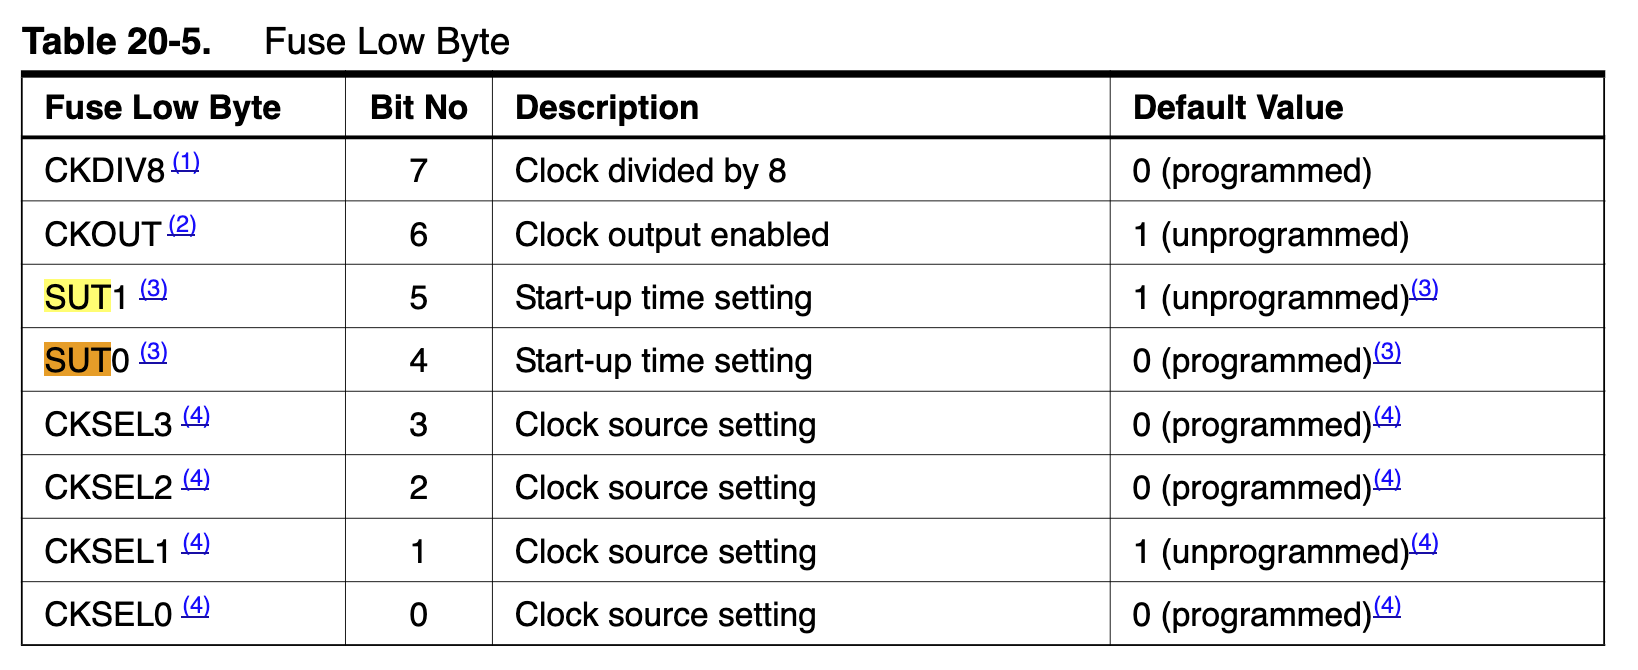
Digging into the datasheet, I found that by default the ATtiny waits 64ms after startup to give the clock time to stabilize. While this is all nice and good, I don't have that kind of power to waste! This could be changed to 4ms or 0ms by setting the LFUSE (datasheet page 26), but I had no idea how — all I knew were the options on the Arduino IDE. From more reading, I learned that the fuses were what changed every time I altered the clock frequency or other pre-code options then hit Burn Bootloader, but I still didn't know how to upload non-common options.

Custom fuses
Burn Bootloader command from the CLI
On a forum post someone mentioned you could burn the fuses from the command line using the same command that the Arduino IDE used to burn the bootloader (fuses included). To get the starter command, you can go to Settings->verbose output and turn it on for upload. Next time you hit the Tools->Burn Bootloader button, at the very top of the stdout box will be the command that the IDE tried to run.
String to steal from the Arduino IDE stdout

When we copy this line elsewhere, we can see exactly where the fuses are in the command. They're towards the end, and encoded as bytes. If you ran this in the terminal, it would do the same thing that hitting "Burn Bootloader" in the IDE does.
Pretty-printed Burn Bootloader command from the previous image

Determining fuse byte values
One way to set the fuses is to figure out exactly which bits of the LFUSE bytes alter the startup time. In my case, SUT should be 00 for 0ms delay, meaning the right byte should be changed in LFUSE (0x62 above). This approach is possible albeit annoying, and I worried that I had the wrong endian-ness all the time.
The second time, I realized there were several fuse calculators webpages (like this or this) where you could pick the options and it would auto-generate the correct fuse value. Super!
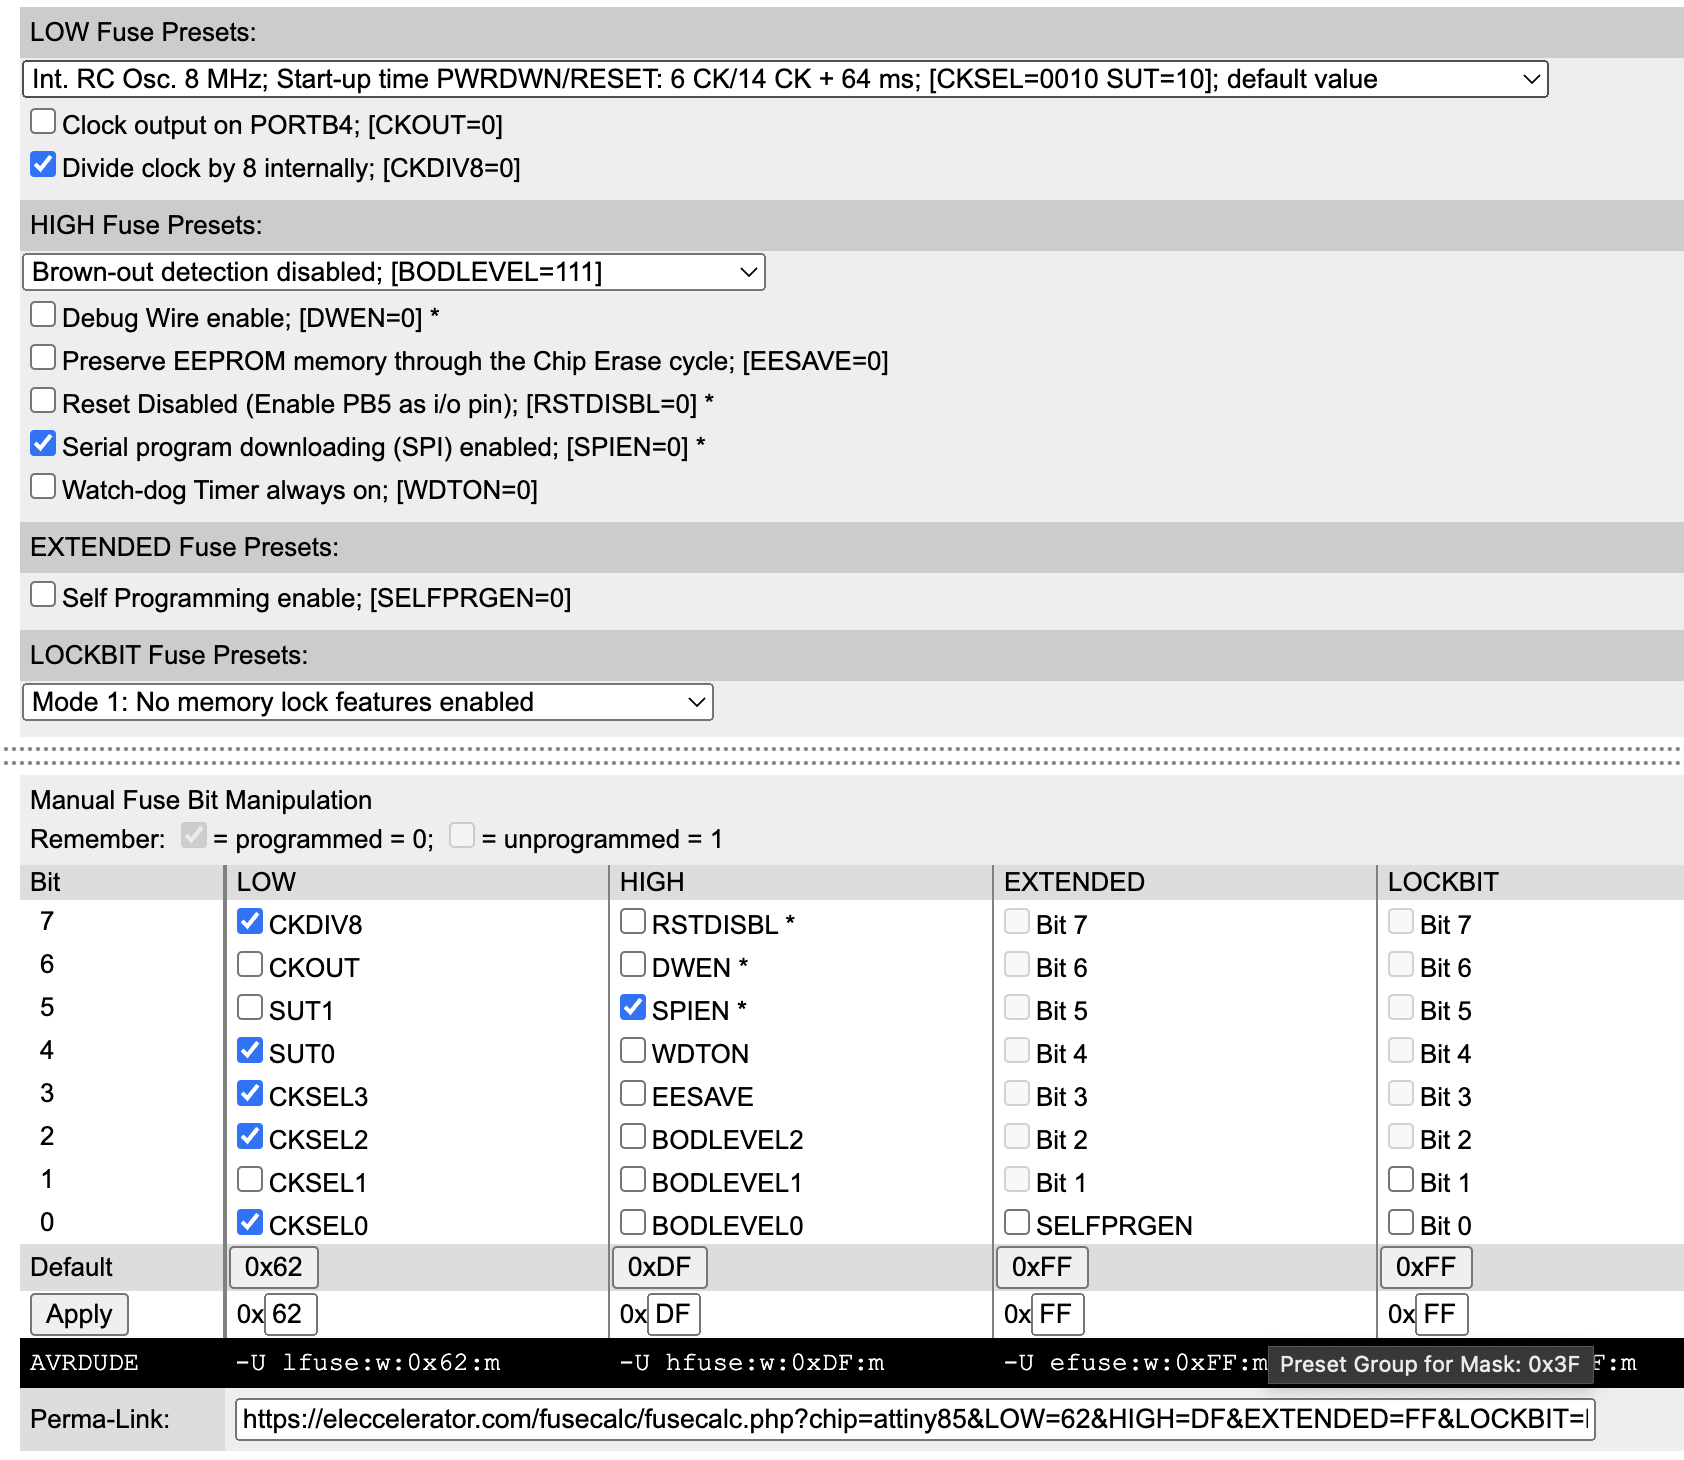
Once you figure out the fuse bytes, just edit the original Arduino IDE string to include the new values for the appropriate fuses. You can then just run the command in your computer's terminal to set the new fuses on your ATtiny.
In my case, I just changed the 0x62 in -Ulfuse to 0x42. Now my startup time is <1ms!
No more startup delay
Alright, that's all. Cya around!