Easy Button Hack Pt. 1
Published December 24, 2020
WOOO. In sort-of order, today I learned: how to read from SD cards, how to play wavs from SD cards, how to boost speaker volume using a transistor, how to limit transistor current using a resistor, how to trigger interrupts for Arduino sleep modes, how to change what shape causes an interrupt, which pins are and AREN'T interrupt pins, how to hijack the button on an Easy button (not easy, actually).
Here's the end result: An Arduino rig that powers off until the button is pressed, then plays a random sound file from the SD card before powering off again. Gonna solder everything tomorrow and move it to battery power.
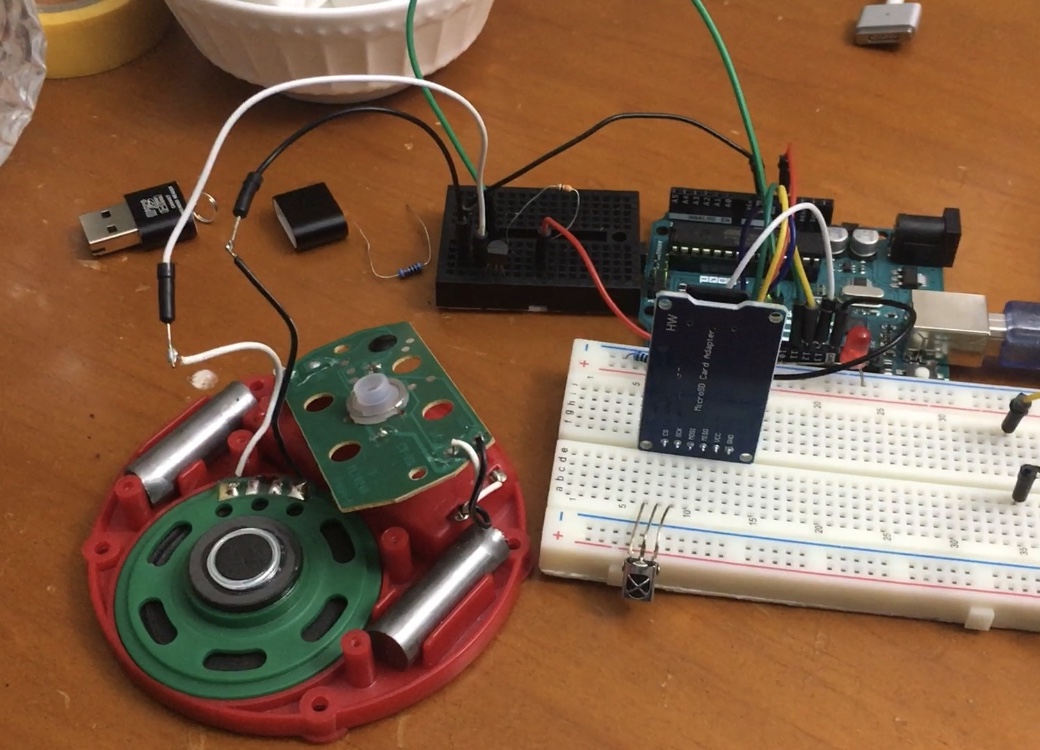
Pictured are the audio amplifier, speaker, Arduino Uno, and SD card
Things I learned today that each took me at least an hour to figure out
- SD cards in Arduino can only be a certain length and all caps, called 8.3 format ('YESYESY.WAV' for example)
- Arduinos only have 2 interrupt pins (2, 3), the other ones don't work for hardware interrupts.
- Transistors require a resistor in-line with the emitter (V+), and make a decent audio amplifier.
- Random library does a clever initialization of seed using analogRead(A0) or another random analog pin. Otherwise it'll be the same set of numbers every time (for me, 1 1 2 4 5).
Nifty stuff that I thought you'd like to know
- Internal pullup resistors have variable resistance, around 10-50kΩ or so.
- The UNO is pin-by-pin compatible with the Nano.