5050 LED Strip Teardown
Published February 20, 2021
Hello! I purchased some LED strips off Amazon. I've always wanted some more lighting, but more importantly, I also wanted to set up some interactive visuals in my room!
Let there be light
Ideally, I'd create a few scripts that allow users to control the light strip in fun ways. For instance, I wanted to add an encoder dial that would control the position of a single LED, and then when turned, it would just move around strip in a big circle. Or a visual doorknob that would flash when pressed, so I could respond to people outside my door while listening to music. Or a clock that fills up or drains the LED strip as the day progresses, a visual indicator of daylight running out. There's a lot of ideas here.
Anyway, the first step is to purchase a sufficiently long LED strip off Amazon. I measured my room, and need about 50 feet of lights to go all the way around.
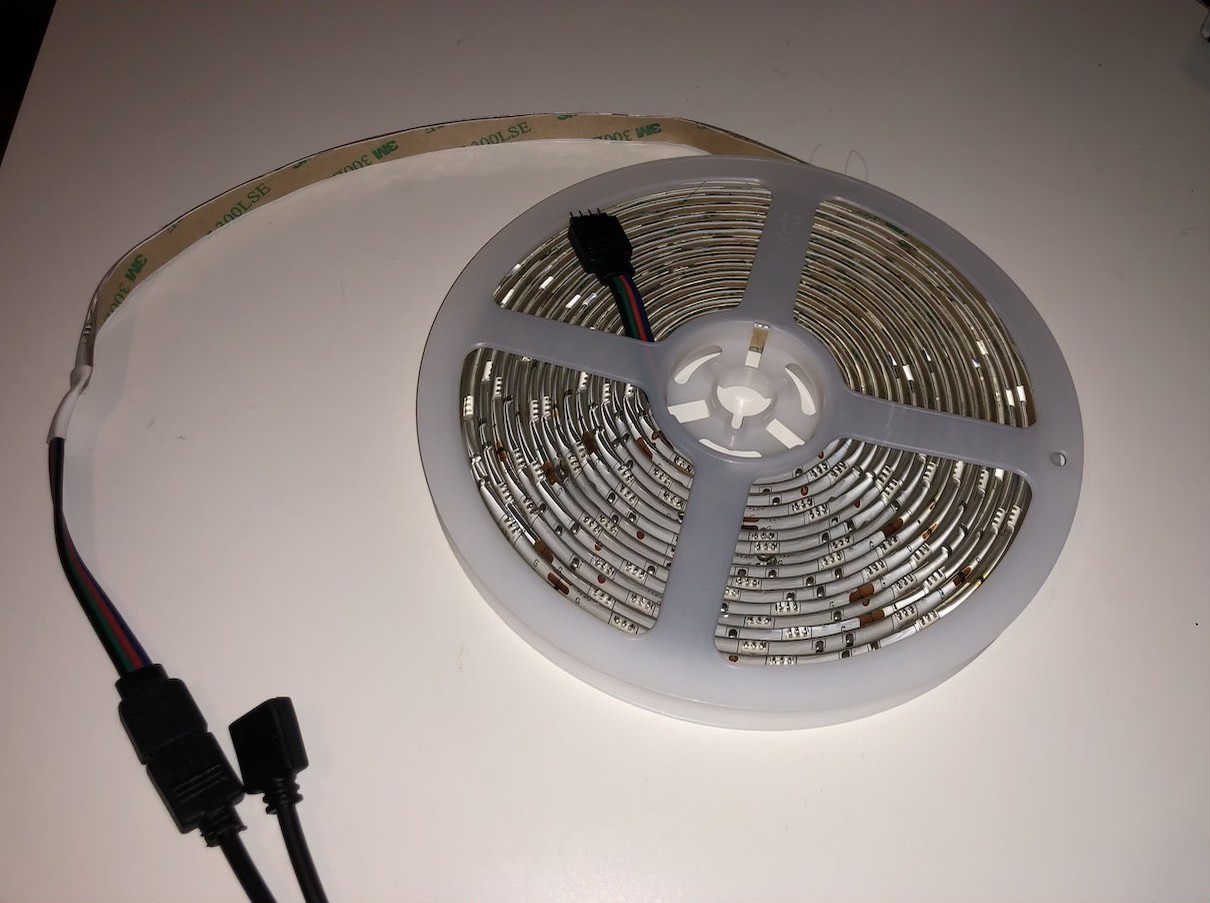
Buyer beware here, if the item description does not mention "chase effect" and is really cheap, it probably doesn't have individually addressable LEDs. They're referred to as 5050 LEDs, and instead of 3 wires have 4 wires — 12 V, R, G and B. Not sure why it's inverted like that. So since the strip is only addressable as a whole, I can't do the knob thing, but I can do some more fun things that I had planned.
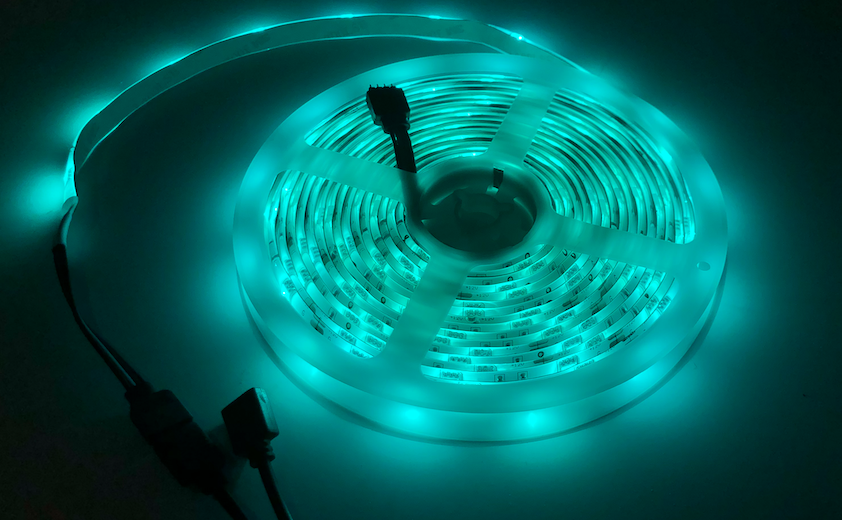
Unlit reel on my desk. Comes with backing and a nice rubber-y cover.
Most of these come with some app, so we know there will be some Bluetooth or otherwise IoT going on inside. The supply is 12V, and claims to source up to 5 amps. At 60mA per LED at full draw, and 300 LEDs/reel (2 reels), that's a max draw of 36 A. Of course, each LED does not draw 60mA, but we are upper bounding. Though that 60mA was for NeoPixels, maybe it's lower for these...
Power
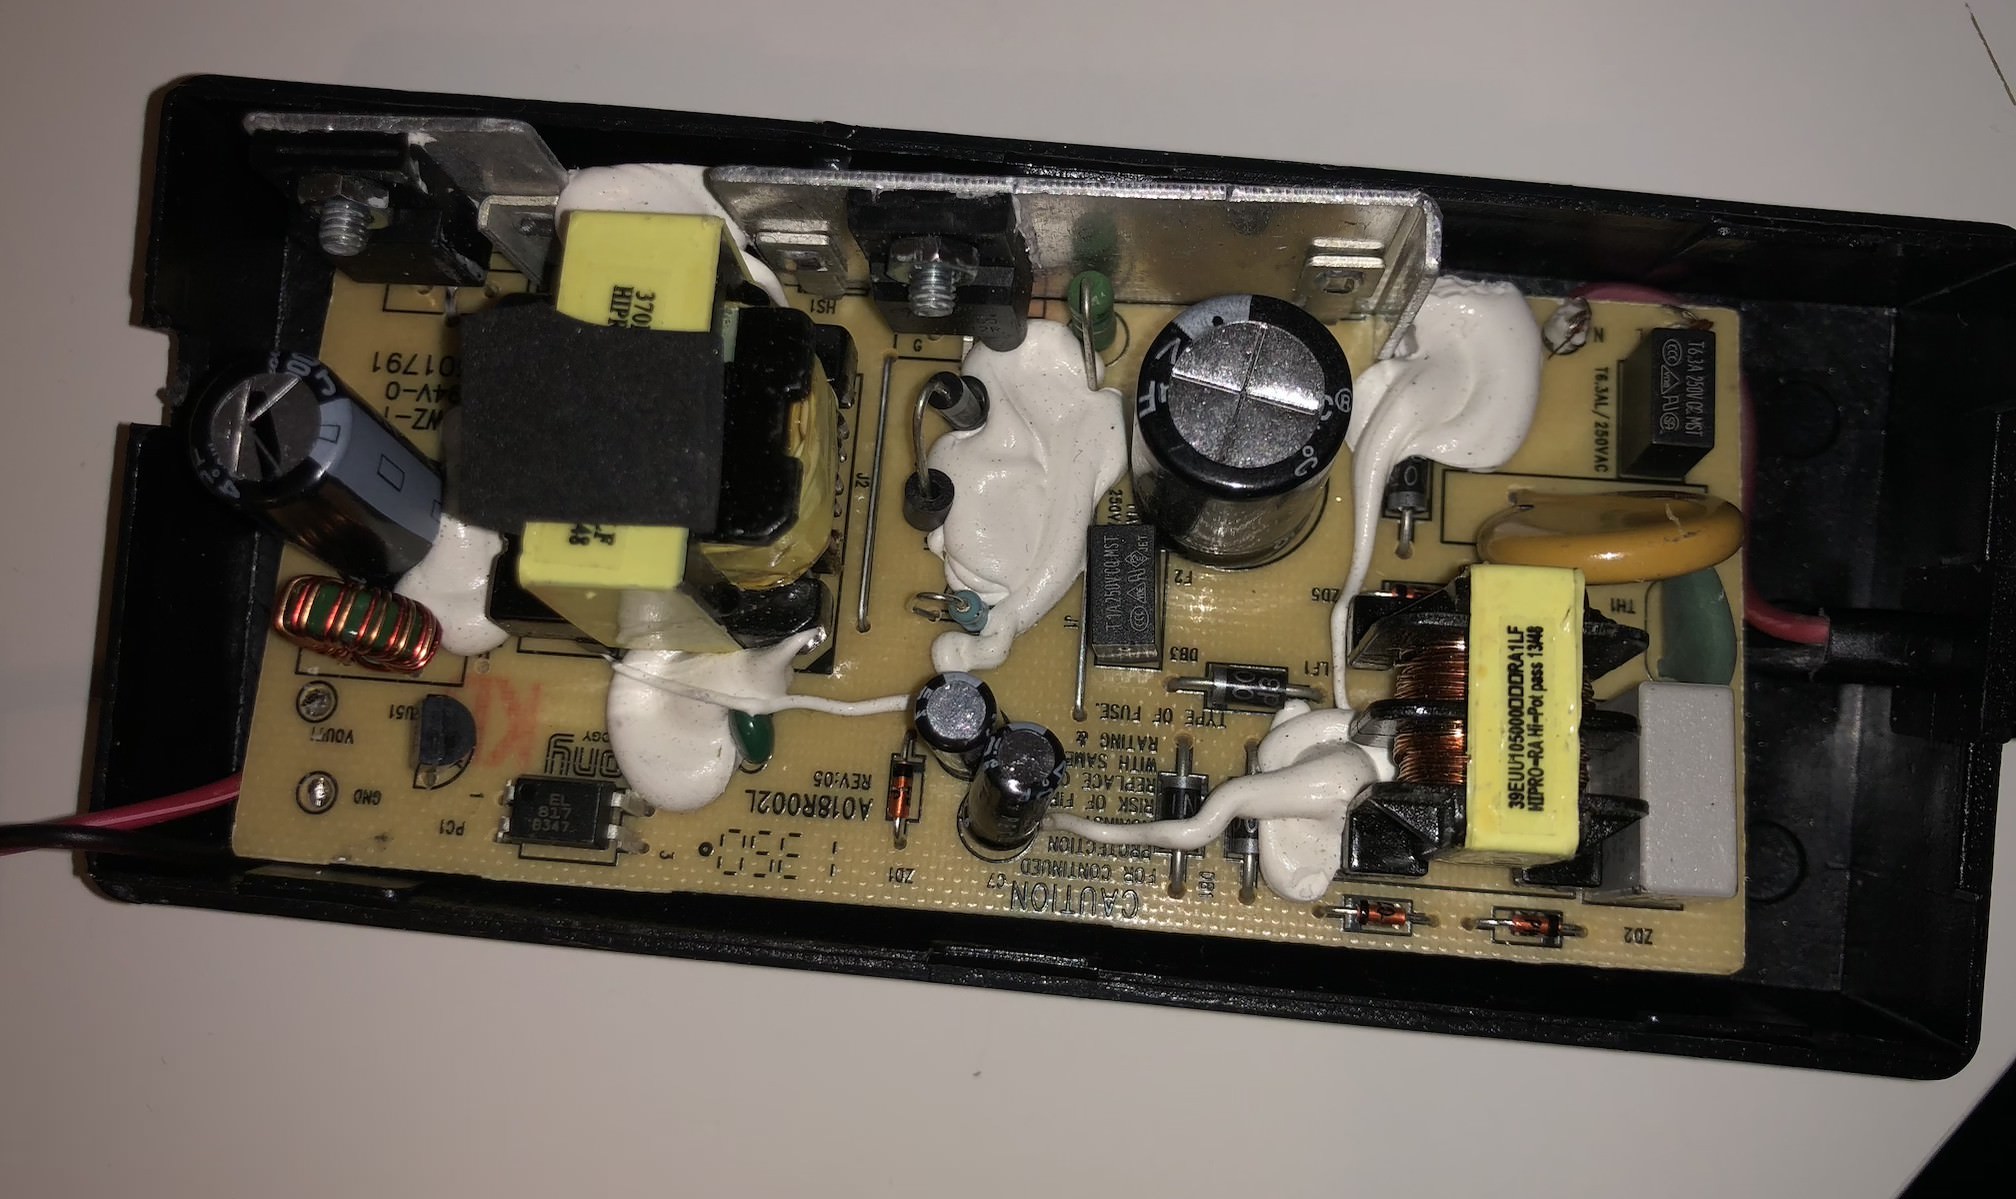
Anyway, here's the power supply. Looks like a generic 12V brick, some conversion then a Cockcraft-Walton (I assume that's what the diodes are for?), then another transformer. Take this with a grain of salt, I study computers not circuits. Out comes 14V-ish DC (no load), and 7V goes into the emitter of the transistors in bottom-left.
Power supply for the LED lights
Control
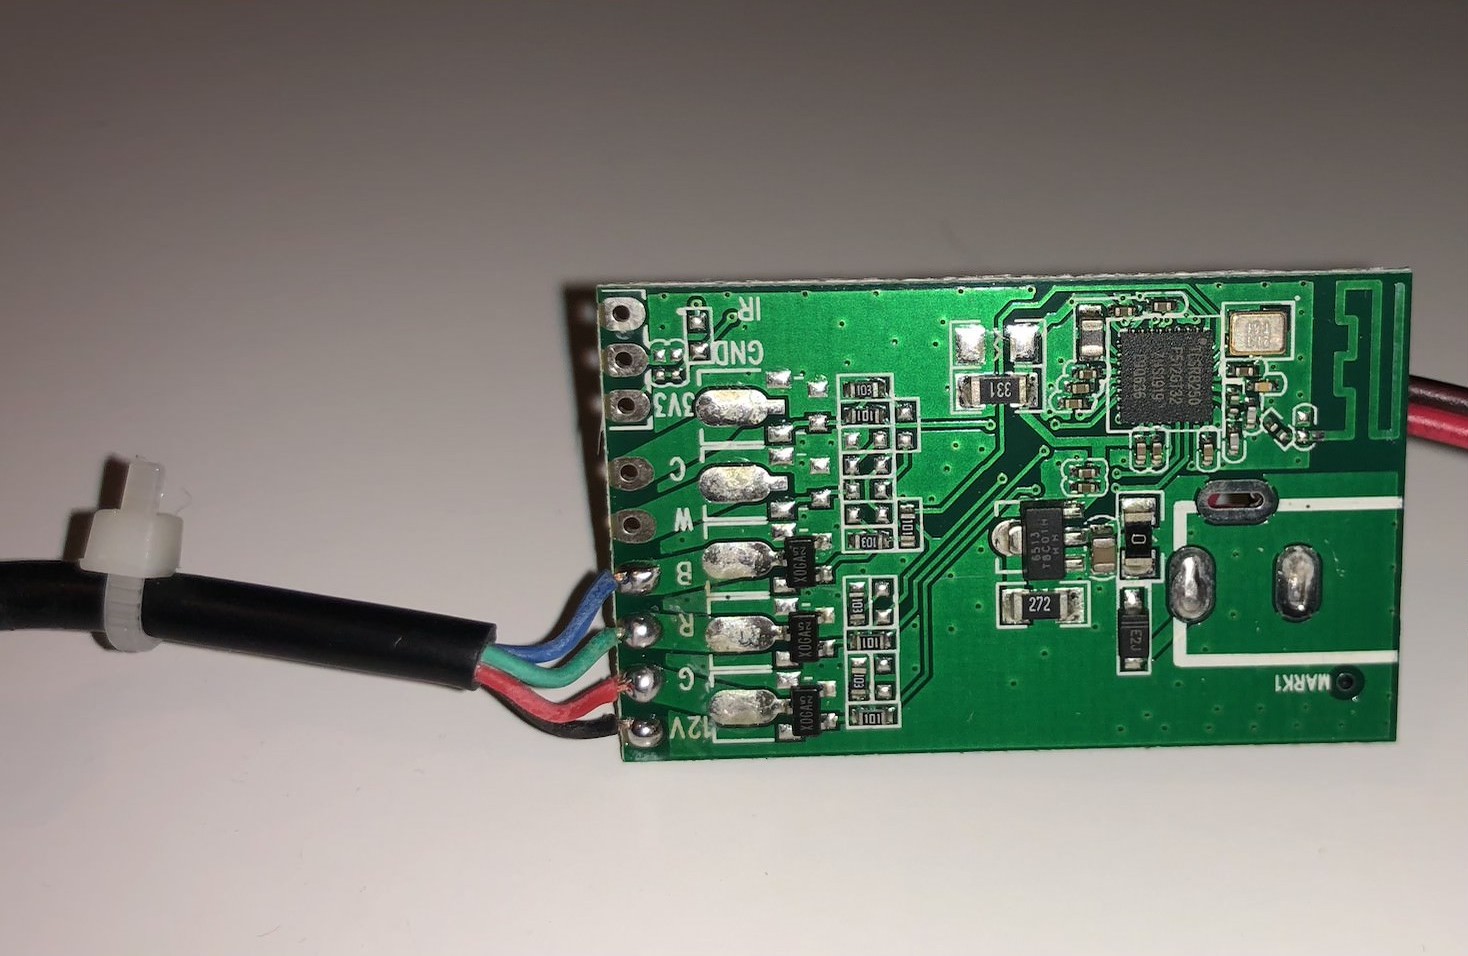
Lying next to the power supply board unsecured is the control board. You can see the 3 transistors in the bottom left leading to some FAT traces that go to the RGB channels, as well as the 12V input. There's also the board-trace Bluetooth antenna in the top right-hand side.
I couldn't find the transistor number online (X0GA 25), but if you apply 4V to the bottom-right pin of the SOT package, it lights. Good enough for me. I may also just turn all the transistors on and then put my own transistors on the output line.
Controlling board for the LED light strip. Was previously just dangling in the power brick...
Looks good. Next step, find a 5V microcontroller and hook it up! We'll see how hard the controls are, depending on the voltage-to-brightness conversion on the transistor.