Creating panorama images manually
Published November 17, 2020
Howdy y'all! I think everyone knows what a panorama is so I'll jump right into it.
What's going on?
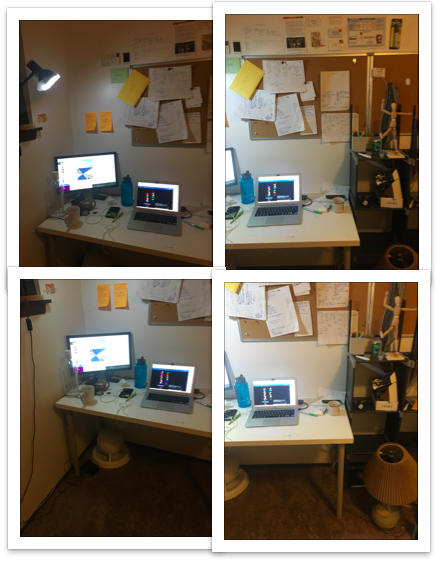
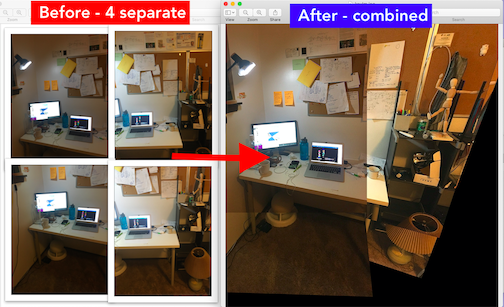
I'm working on a problem where I need to stitch together 4 images in a 2x2 pattern, into a big panorama/composite image. The image sets look something like this:
How do you do it?
I started from a simpler problem of stitching just two images together. At first I thought I could do some naive image stitching — i.e. find the row for both images that have the least difference, and just splice at that spot. However, I realized that is probably too naive, and decided to do some Googling.
So instead, it turns out, you can find "corners"/keypoints/features within an image that are distinctive in angle/size/shape. Given two images with a bit of overlap, you can just find the features for either one. The feature detectors can also generate some 128 or 32-vector embedding of each keypoint, which is then used to compare each keypoint to every other keypoint using some "distance" metric, usually euclidean distance.
Afterwards, you'll have some set of key points that are shared between both images, and the XY locations within both images. These XY points can then be correlated to find some affine transform that... OK, too complicated. Basically, imagine your two images each have a triangle in them. You can find the corners in both, figure out which corner in image1 maps to which corner in image2, and skew your view of one of the images so that the triangles will line up. Then all you gotta do is add the images! Here's an example:
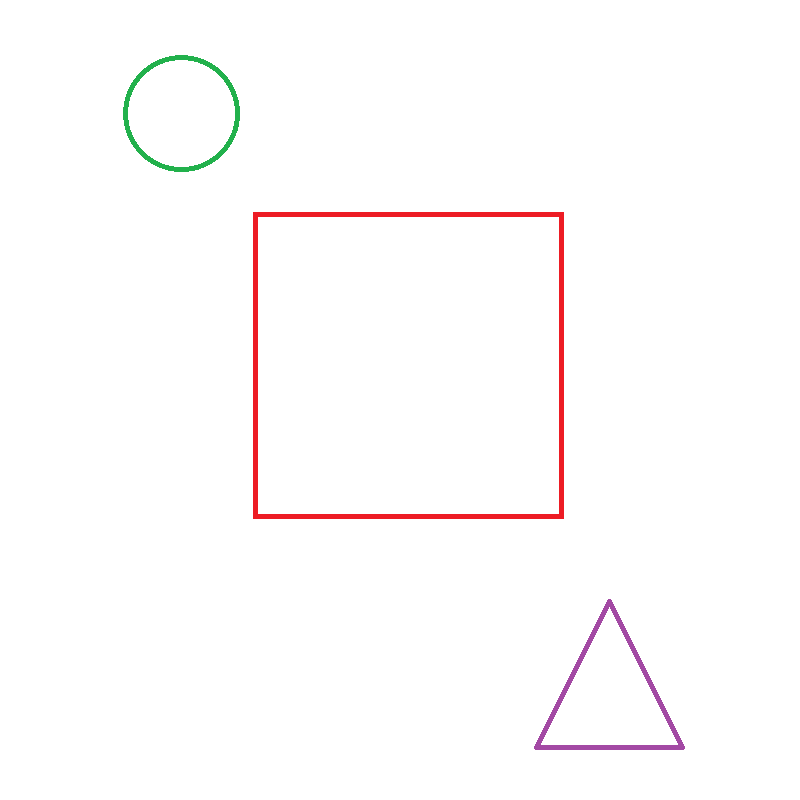
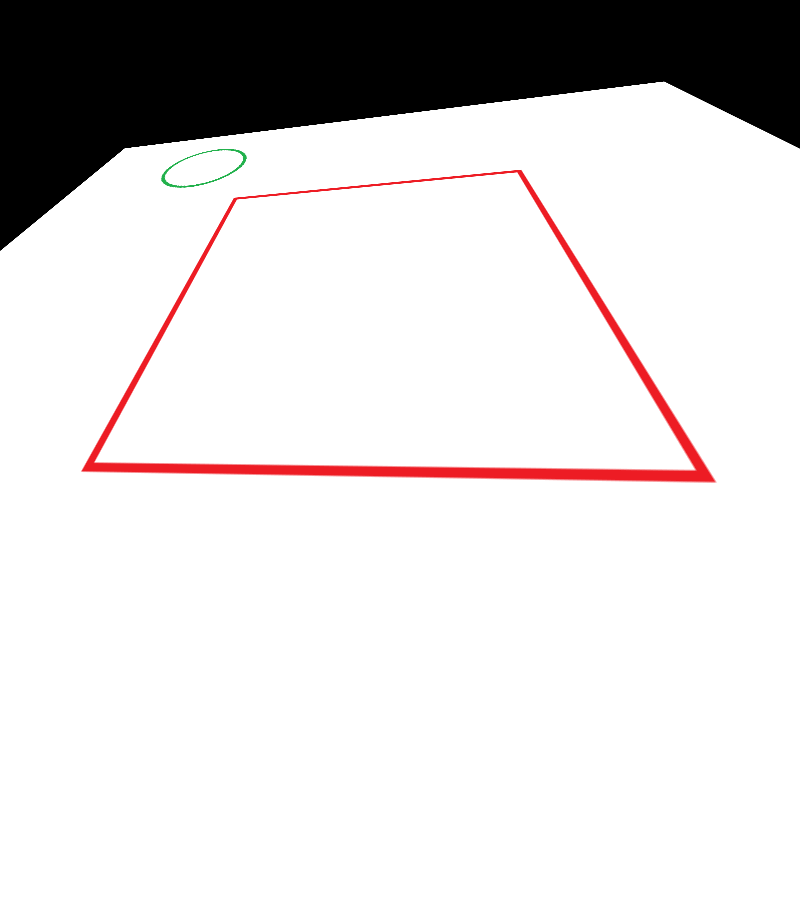
Intuitively, you know that in the 2nd image, you're looking at the 1st image from a different viewpoint. Namely, from the bottom up. You also know that, as an approximation, transforming the bottom square into the top one will sorta transform everything else as well to match the top.
Implementation details
- Find keypoints/descriptors for each image. I used SIFT, then switched to ORB for speed
- Find matching keypoints between the two images. FLANN (Fast Library for Approximate Nearest Neighbors) works well, and can find the two nearest neighbors. This is useful because it lets us filter out bad matches using a ratio test.
- Calculate the homography matrix between the two images using their matching keypoints (homography is the process of mapping one set of vertices to another, like triangle corners to triangle corners). OpenCV has a function
cv2.findHomography()for this using RANSAC. It isn't deterministic though :(. - Apply the homography matrix to one of the images using
cv2.warpPerspective - Combine the images together.
Voila!
Problems
Seams
There's weird border/seam issues where the images come together, which I anticipated. I didn't control the ISO precisely on my phone, so there's bound to be issues there. Seam finding is for later, but I think it's possible to apply a uniform shift for every added image to make their borders line up.
Distortion
You can clearly see which image was first (top left), and which ones were warped and then added on. I think this is a problem because features become harder to detect after a few images get added, and the last one barely makes it on there in a coherent manner at all. I may be able to do some like detect all shared features before, then transform each set one at a time in order to get better results. Otherwise the alignment is all messed up. Problem for later though!
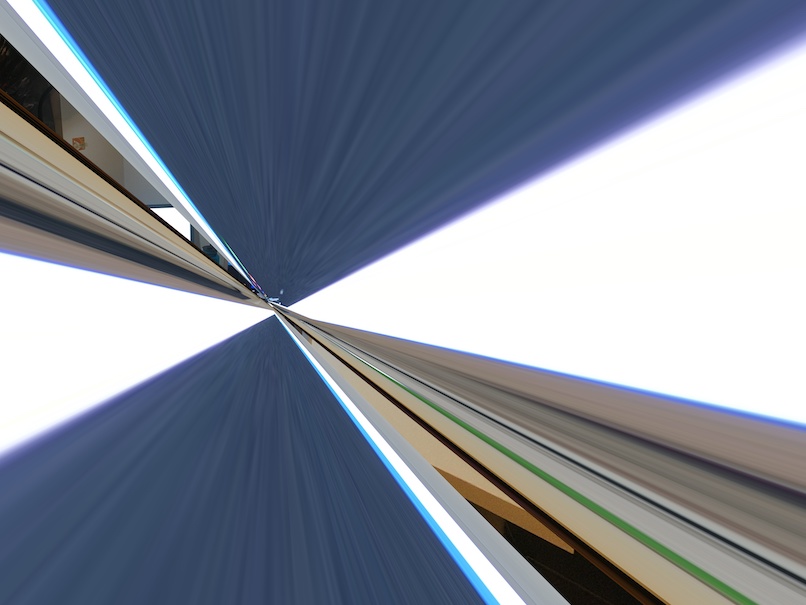
Bonus
In the course of messing with cv2.warpPerspective, I also made some cool glitch art. Enjoy! Until next time ~