Spudging PCB Stencils for Beginners
Published September 14, 2020
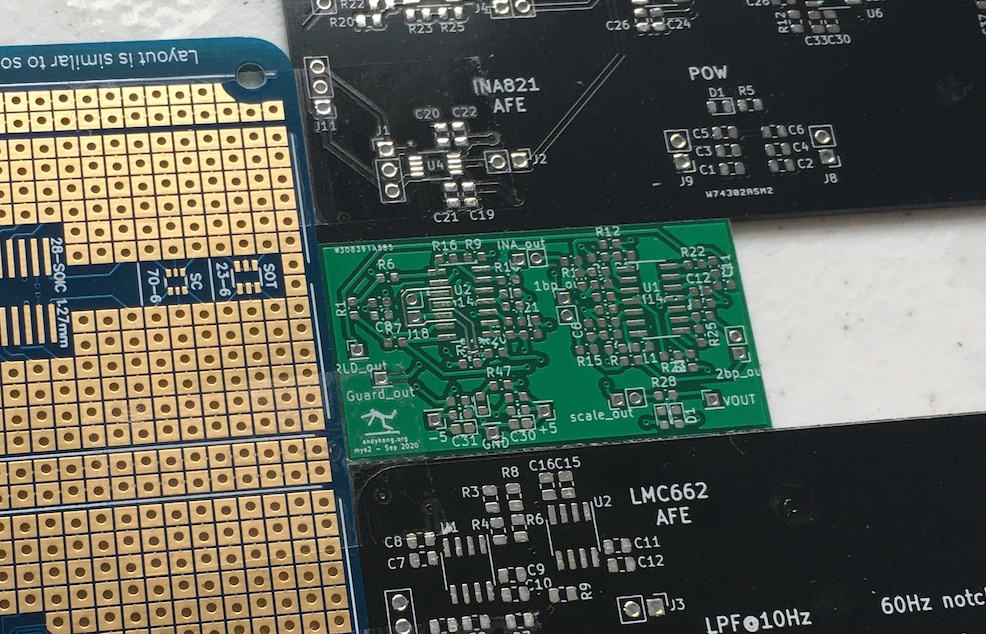
Hello! This is Andy. I've made some progress on my EMG circuit since last year, and by that I mean I've iterated exactly once. While assembling my second iteration, I decided to bite the bullet and order a PCB stencil so I would have an easier time putting together the board. It was really quite fun, so I've decided to share the process and my thoughts on it.
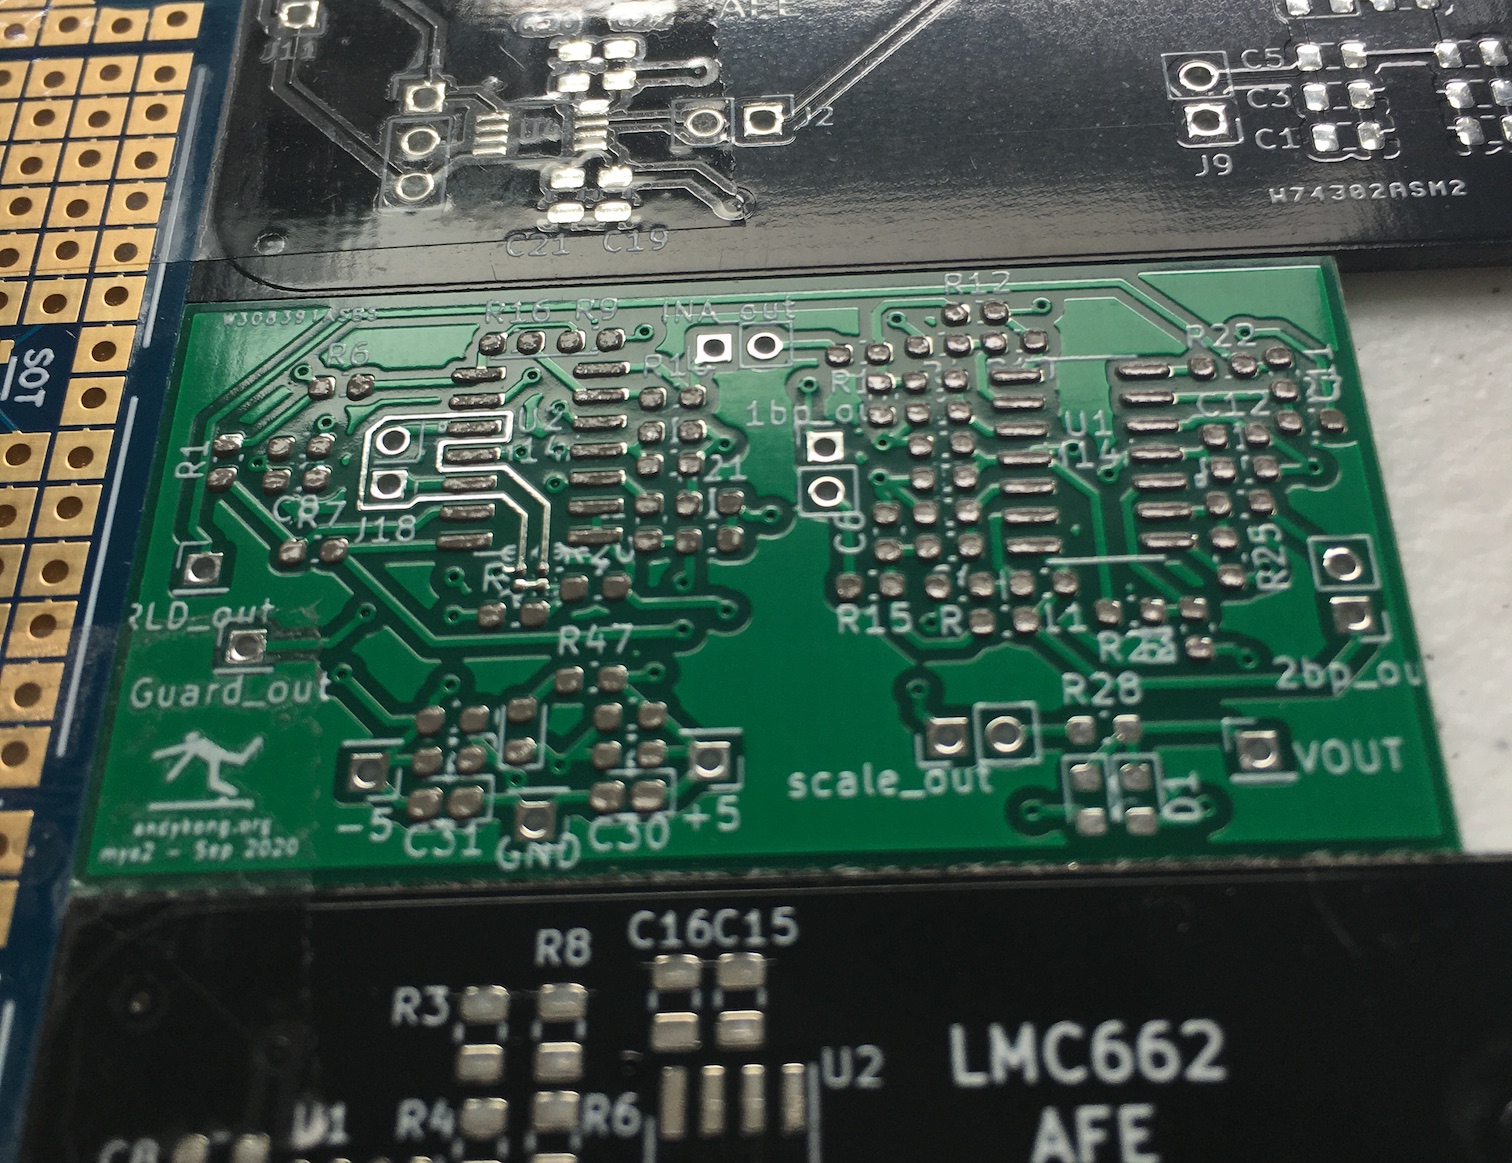
You need to have - your blank, unpopulated PCB
-
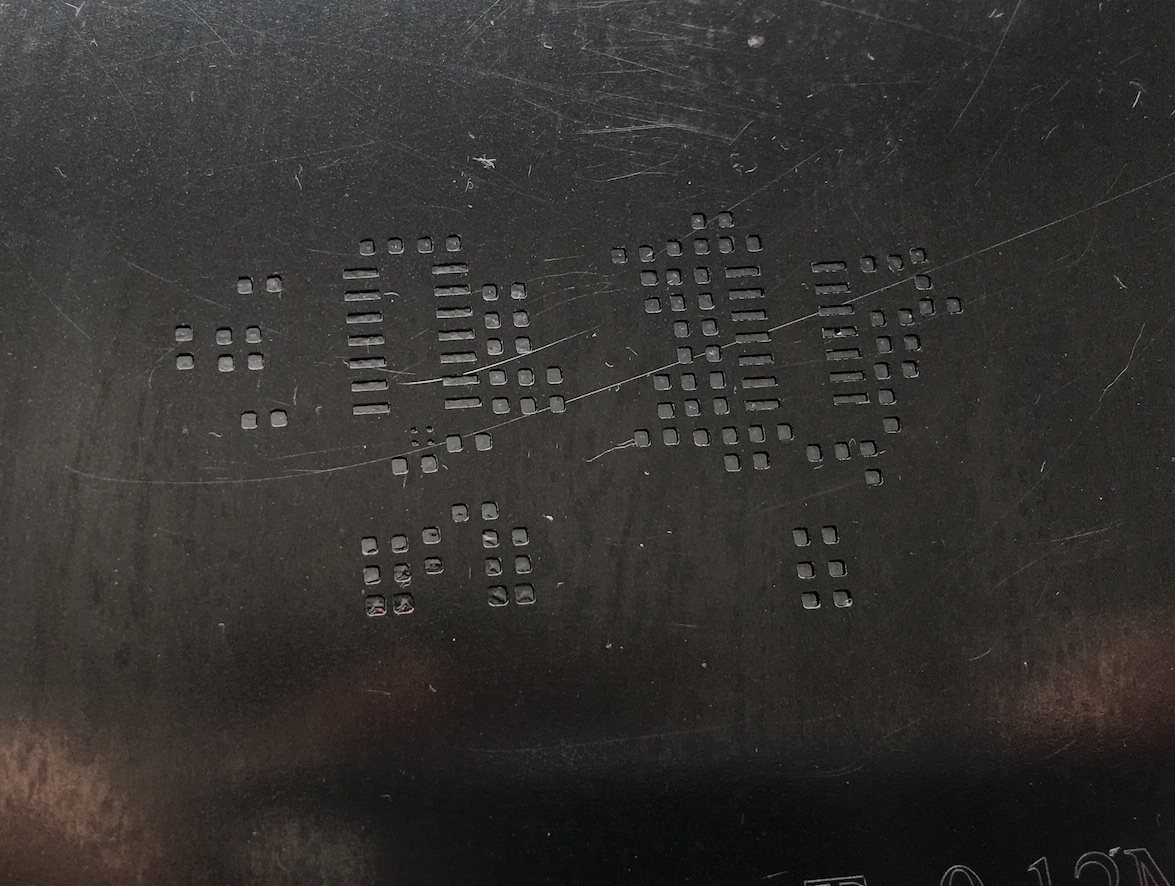
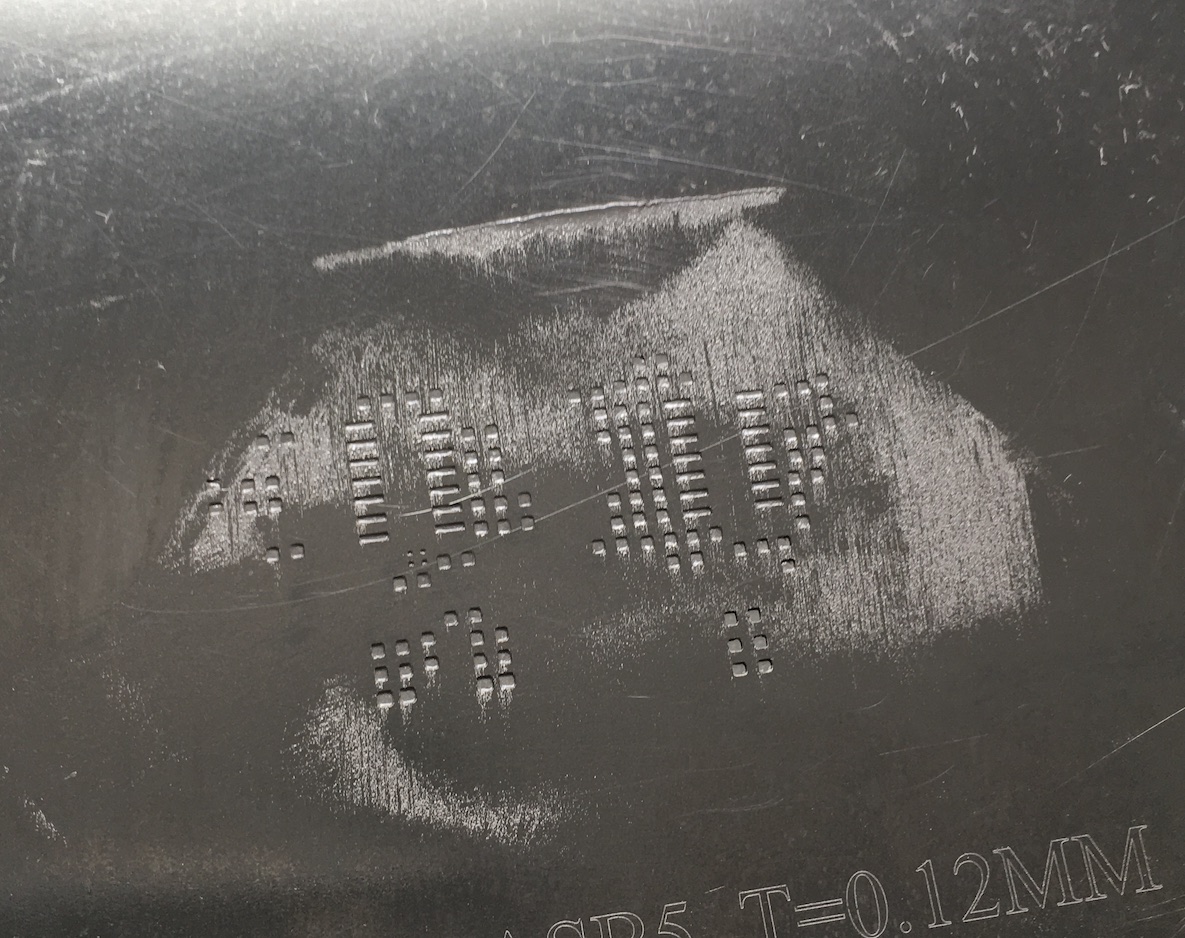
the PCB's stencil
-
Solder paste
-
a credit card or something similar
-
other blank, unpopulated PCBs to support the stencil
-
tape
-
reflow oven or hot-air gun
Steps
1. Tape your PCB down with some of its friends adjacent
2. Place your solder mask over the PCB and align it until you can't see any of the green solder mask. Then tape it down.
3. Squeeze out a bit of solder paste and get your scraper tool
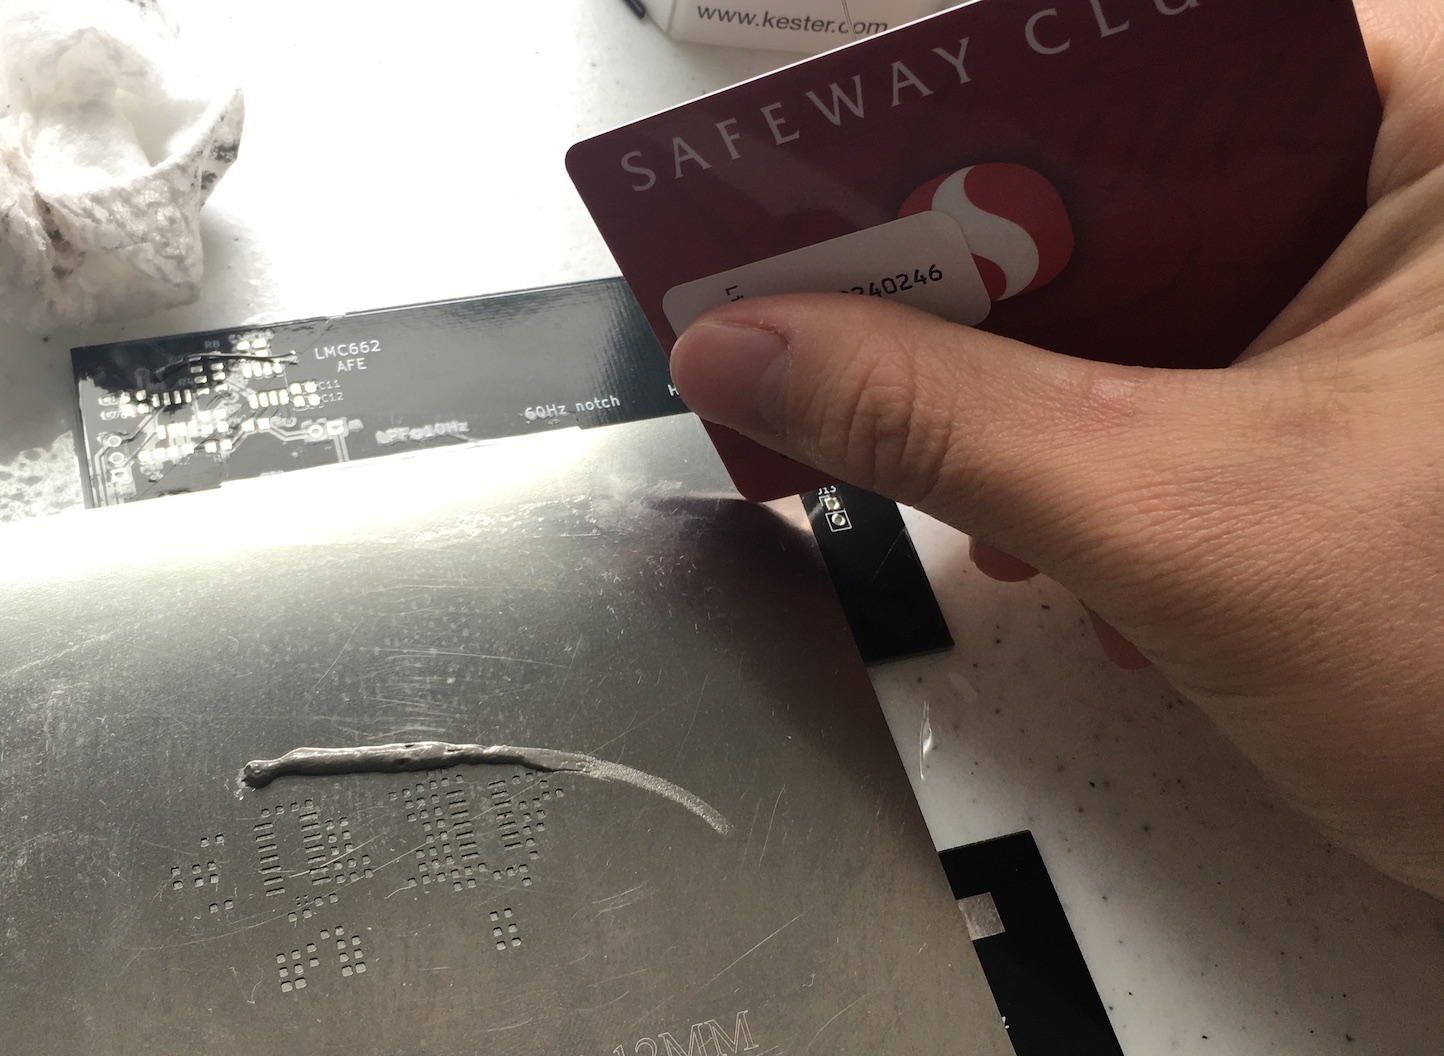
4. Squeegee the paste over the board. Push down, hard, to ensure no leakage. Only do this step 1-3 times, any more and you'll leak it out
5. Check the coverage. If there are some pads that have no grey, touch up those areas locally.
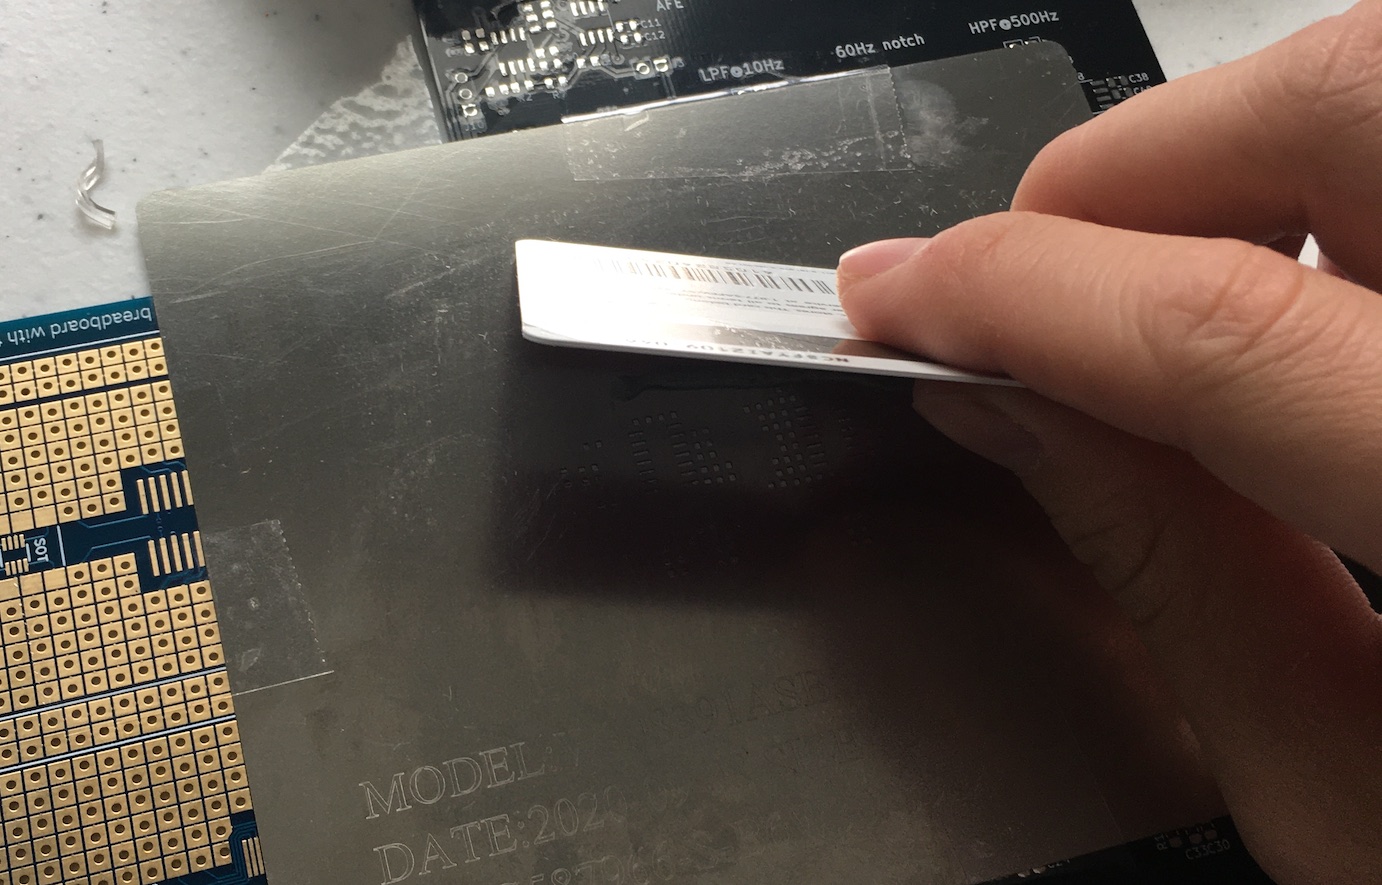
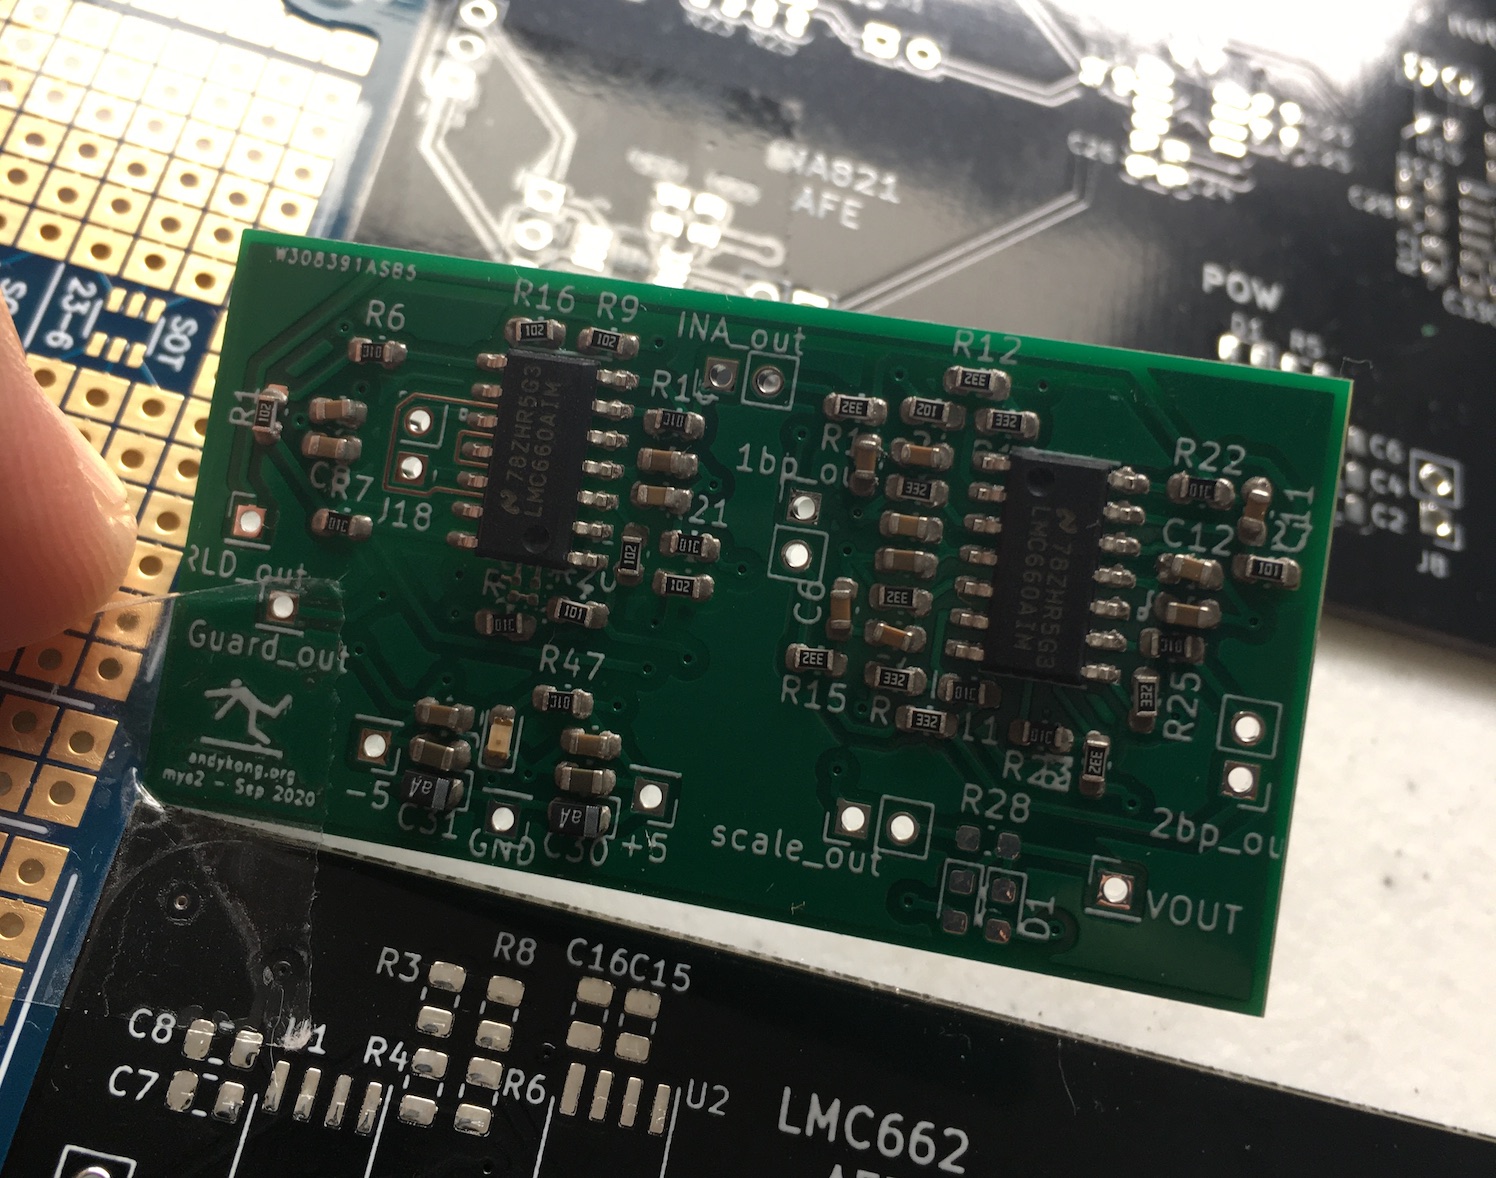
6. Remove the solder mask tape carefully, then pull it up from one side. Check the footprints, then add your components
7. If they're ready to go, pop it in the reflow oven and hit start. Enjoy the fumes for a few minutes, then inspect your board!
The hardest part is the actual spudging — make sure to apply a lot of pressure, but resist the urge to get solid grey filled in on the pads. Don't go over it more than a few times. You'll have a solid uniform grey coating on all the footprints, but they'll leak out the sides and ruin the pads. That's all for now, be safe!